How to Coordinate Window Installation on a Custom Build

A large, thermally broken aluminum window can define an elevation, but it also exposes every weakness in a project schedule. Knowing how to coordinate window installation means treating the window package as a building-envelope scope, not a finish item that arrives after framing. The right sequence protects refined sightlines, preserves thermal performance, and prevents expensive field modifications when the openings, waterproofing, and structure do not align.
For custom homes and architectural projects, coordination starts well before fabrication. It continues through delivery, installation, glazing, exterior cladding, and final adjustment. The best results come from assigning clear responsibilities early and verifying critical conditions at each handoff.
Begin Coordination During Design Development
Window installation is easier when the design team resolves the entire opening, not simply the glass dimensions. The architect should establish the intended frame position within the wall, exterior cladding depth, interior return condition, sill strategy, and drainage plane. These decisions affect the appearance of the finished opening as much as they affect water management.
This is especially significant with slim-profile aluminum systems, large fixed units, corner conditions, and lift-and-slide doors. A frame set flush with one exterior material may require a different flashing or trim approach than a frame recessed behind stone, wood siding, or metal panels. Do not assume a detail that works for a conventional flanged vinyl window will translate to a high-performance aluminum system.
Before finalizing window sizes, the project team should confirm structural requirements for headers, jamb support, and deflection. Large glass assemblies can place meaningful demands on the surrounding structure. The installer needs an opening that remains square and stable under load, not an opening that is technically within size but likely to move as the building settles or the roof structure carries snow.
Establish a single source of dimensional truth
The approved shop drawings should govern fabrication and field preparation. They need to identify overall frame dimensions, required rough-opening tolerances, mullion locations, handing, sill configuration, glazing makeup, and installation orientation. If architectural elevations, structural plans, and window schedules conflict, resolve the discrepancy before releasing the order.
A field measure remains valuable even on carefully managed projects. It is not a substitute for coordinated drawings, but it can reveal framing variation, concrete deviations, or substrate conditions before they become a problem. For renovation work, field verification is indispensable because existing construction often differs from record drawings.
Coordinate Window Installation With the Construction Schedule
The critical question is not merely when windows arrive. It is whether the building is ready to receive them without compromising the frames, glass, or weather-resistive barrier.
The general contractor should create a window-specific schedule that accounts for submittal approval, engineering review where required, production time, transportation, site access, installation, and follow-on enclosure work. Custom finishes, oversized units, specialty glass, and multi-panel door systems can extend lead times. Ordering late rarely creates a simple delay. It can push cladding, insulation, drywall, flooring, and occupancy milestones behind it.
Frame installation should generally occur after rough openings are complete, structural supports are confirmed, and the weather-resistive barrier can be properly integrated with the system. It should occur before exterior finishes make it difficult to correct the opening or access the perimeter. The exact sequence depends on the wall assembly, but the installation method must be coordinated with the waterproofing concept rather than improvised in the field.
In Colorado and throughout the Rocky Mountain region, seasonal conditions deserve special attention. Snow, wind, rapid temperature shifts, and intense sun can affect access, temporary protection, sealant performance, and site storage. A winter installation may be appropriate if the manufacturer-approved materials and environmental conditions support it, but the team should not rely on a rushed cold-weather workaround for critical flashing or sealant work.
Prepare Every Opening Before Delivery
A delivery date is not an installation date unless the openings have passed a readiness review. The installer, superintendent, and framing lead should inspect representative openings, then verify all others against the approved drawings.
The review should confirm that openings are sized correctly, square, level, plumb, clean, and free of protruding fasteners or damaged sheathing. Sills need the specified support and slope. Jambs and headers must provide solid fastening locations without creating pressure points that can distort the frame.
The weather-resistive barrier and flashing materials should also be on site and compatible with the installation system. Compatibility matters. Adhesives, membranes, sealants, and primers may react differently with coated aluminum, treated lumber, sheathing, and air-barrier products. The project should use an installation approach that manages water at the sill, integrates shingle-style with the drainage plane, and maintains continuity of the air and water control layers.
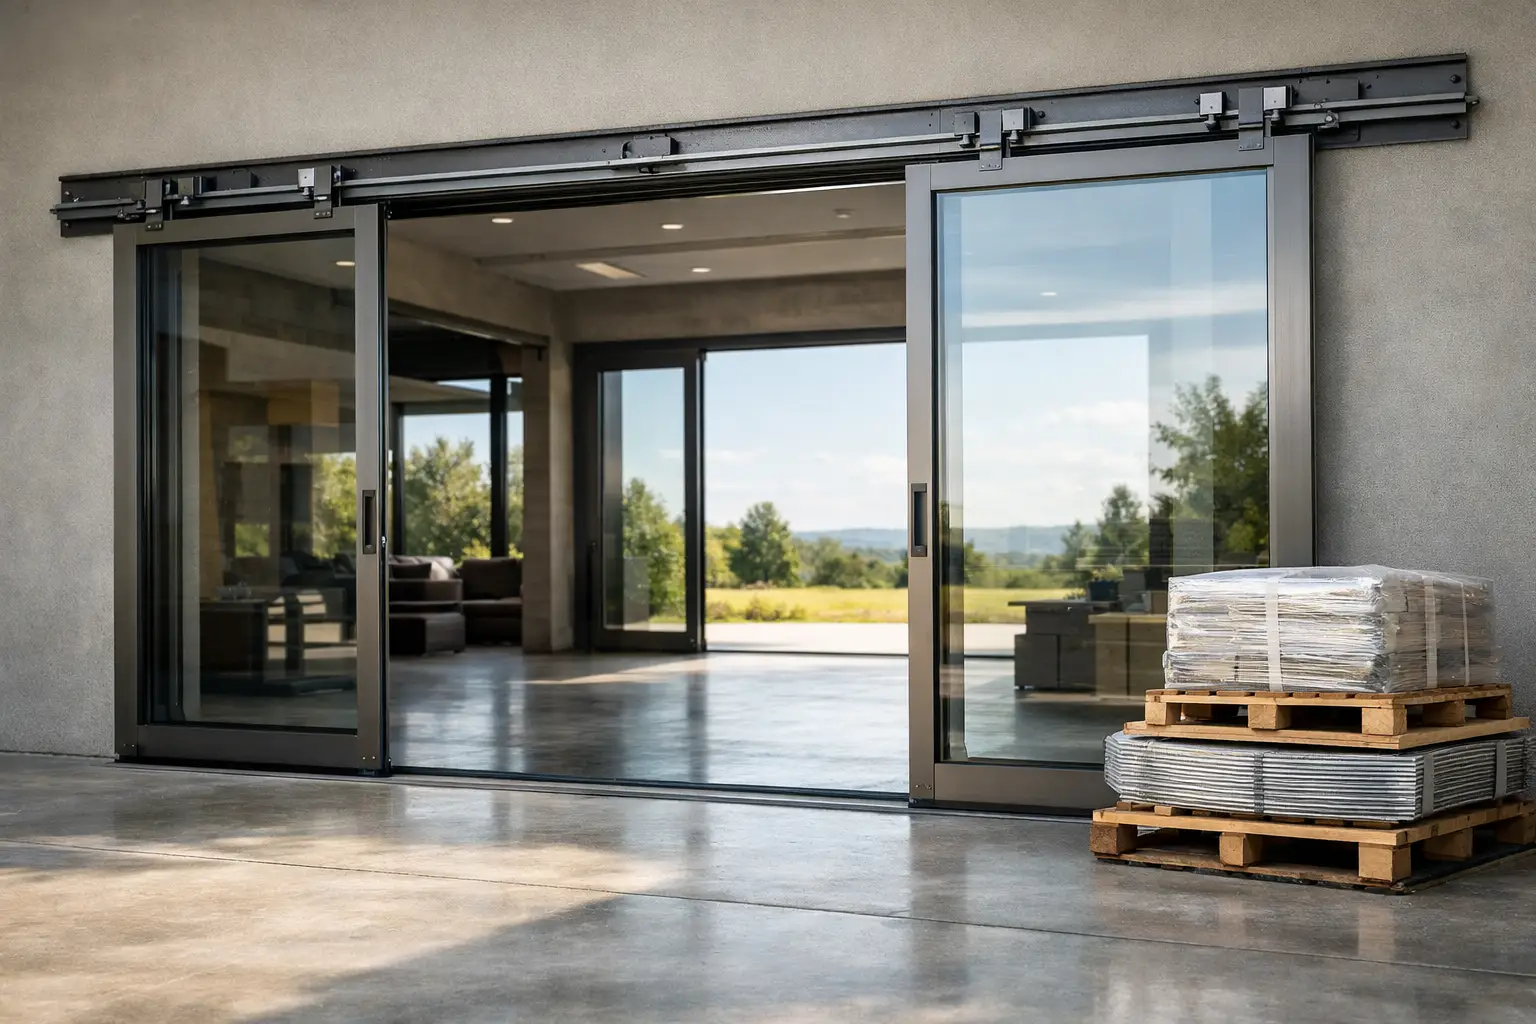
For large or heavy units, confirm access before the truck arrives. This includes gate width, driveway capacity, staging space, lifting equipment, and the route from unloading point to opening. A panoramic door or oversized fixed window may require a forklift, telehandler, crane, vacuum lifter, or specialized glazing crew. Improvising the lift increases the risk of edge damage, frame twist, injury, and lost time.
Plan Delivery, Storage, and Site Protection
Premium window systems should arrive to a prepared site, not sit exposed while other trades catch up. Coordinate delivery by elevation, floor, or installation sequence so the crew can identify and stage each unit efficiently. Confirm who will inspect the shipment, where packing materials will be removed, and how glass will be protected after placement.
Store frames upright, dry, and supported according to manufacturer guidance. Do not stack units in a way that loads the glass or damages finishes. Keep protective films in place during construction where appropriate, but remove them at the recommended time. Films left under prolonged heat and ultraviolet exposure can become difficult to remove and may affect the appearance of finished surfaces.
Once installed, windows and doors still need protection from construction traffic. Masonry work, stucco, welding, abrasive dust, and aggressive cleaning chemicals can permanently mark glass, hardware, coatings, and seals. Define who owns protection after installation and require other trades to maintain it. This is particularly important for dark finishes, exposed aluminum profiles, and large expanses of low-E glass.
Define Responsibilities at Each Handoff
Window failures are often coordination failures. A supplier may provide the system, an installer may set the frame, a roofer or cladding contractor may complete adjacent flashing, and a finish carpenter may cover the interior transition. Without a clear scope, each party can assume another trade owns the detail.
At minimum, the project team should document responsibility for opening preparation, frame installation, fastening, sill-pan or sill-flashing work, perimeter air sealing, exterior flashing integration, insulation, interior trim, exterior cladding interfaces, and final hardware adjustment. The exact division varies by project and installation method. What matters is that no portion of the envelope detail is left unassigned.
A pre-installation meeting is worthwhile for complex projects. Bring together the superintendent, installer, architect or representative, envelope consultant when involved, and trades responsible for adjacent materials. Review a typical opening and any high-risk conditions, such as recessed windows, stacked assemblies, corner glass, terrace doors, or transitions to roofing and waterproof decks.
ViewLux Colorado supports this level of project coordination by aligning custom thermally broken aluminum systems with the dimensional, structural, and performance requirements established before installation begins.
Inspect the Installation Before Cladding Conceals It
Do not wait until interiors are complete to discover that a frame is out of plane or a sill lacks drainage. Inspect installed units while perimeter conditions remain accessible. Check frame alignment, anchorage, shims, sill support, flashing sequence, membrane adhesion, sealant joints, and continuity of the air barrier.
Operate every venting window and door before final finishes are installed. Confirm that locks engage, panels slide correctly, gaskets seat evenly, and hardware is adjusted to the manufacturer’s requirements. Door thresholds deserve close review because they must manage water while maintaining a safe, durable transition at the finished floor.
Where the project requires it, conduct water testing before cladding and interior finishes make repairs more disruptive. A controlled test does not replace good detailing, but it can identify installation defects at a stage when corrections are still practical. For highly exposed sites, this verification can be one of the most valuable steps in protecting the finished home.
Keep the Finish Detail in View
The final inches around a window often determine whether the architecture reads as precise or compromised. Coordinate drywall returns, trim reveals, sill materials, cladding joints, and sealant colors with the approved detail. A well-installed performance window can still look wrong if the finish trades change reveal dimensions or bury drainage paths.
The goal is not simply to get glass into openings. It is to preserve the designed relationship between frame, wall, light, and weather. When the team coordinates early, verifies often, and protects the system through final completion, the result is an opening that performs as intentionally as it was designed.